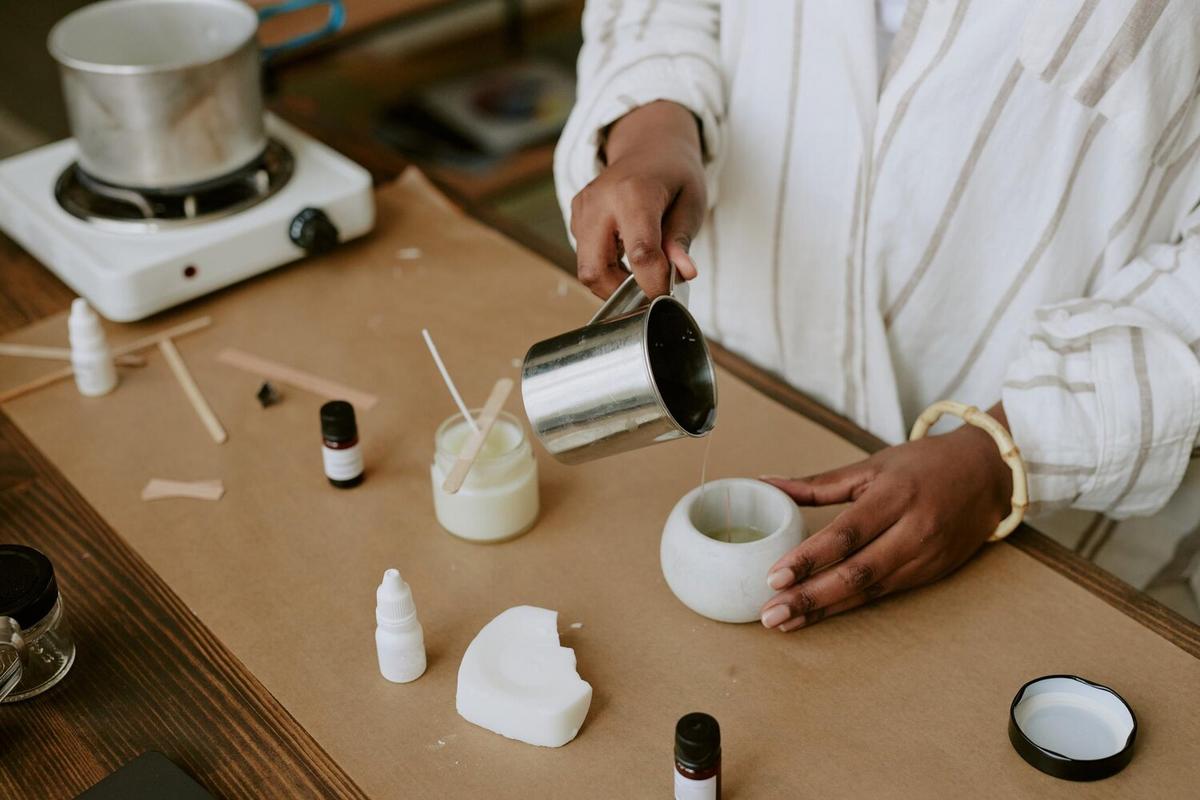
Creating your own candles at home is a rewarding and enjoyable hobby that not only allows you to customize your home’s ambiance but also gives you a sense of accomplishment. In this guide, we’ll walk you through the process of making your own candles, from selecting materials to the final touches, ensuring a safe and satisfying experience.
Why Make Your Own Candles?
Making your own candles has several advantages. Firstly, it allows you to choose your preferred scents and colors, creating a personalized atmosphere. Moreover, homemade candles can be a thoughtful gift for friends and family. Not to mention, it’s an eco-friendly and cost-effective alternative to store-bought candles.
Materials You’ll Need
| Item | Description |
|---|---|
| Wax | Choose between soy, beeswax, or paraffin. |
| Wicks | Ensure they are the correct size for your candle. |
| Fragrance oils | Select high-quality, candle-safe oils. |
| Dyes | Optional, for coloring your candles. |
| Containers | Glass jars, tins, or molds. |
| Double boiler | For melting the wax safely. |
| Thermometer | To monitor wax temperature. |
| Stirring stick | For mixing fragrance and dye. |
Step-by-Step Guide
1. Choose Your Wax
Each type of wax has its unique properties. For instance, soy wax is eco-friendly and burns cleanly, while beeswax emits a natural honey scent. Paraffin wax, on the other hand, is widely available and holds scent well.
2. Prepare Your Container
Ensure your container is clean and dry. Attach the wick to the bottom of the container using a dab of hot glue or a wick sticker. Ensure the wick is centered and stands upright.
3. Melt the Wax
Using a double boiler, melt the wax slowly, monitoring the temperature with a thermometer. Aim for a temperature between 160-180°F (71-82°C) depending on the type of wax.
Expert Tip: Always melt wax in a double boiler to prevent it from overheating and becoming a fire hazard.
4. Add Fragrance and Dye
Once the wax has melted, remove it from heat and let it cool slightly before adding your fragrance oil and dye. Stir thoroughly to ensure even distribution.
5. Pour the Wax
Carefully pour the melted wax into your prepared container. Leave a small amount of wax in the boiler to top off the candle later if needed.
6. Let It Set
Allow the candle to cool and set completely, which may take several hours. Trim the wick to about 1/4 inch before lighting.
Safety Tips
- Never leave melting wax unattended.
- Keep a fire extinguisher nearby.
- Work in a well-ventilated area.
FAQ
Can I use essential oils instead of fragrance oils?
While you can use essential oils, they have a lower flash point and may not perform as well as fragrance oils in candles.
Why is my candle tunneling?
Tunneling occurs when the wick size is too small. Ensure you use the correct wick size for your container.
Conclusion
Making your own candles is a fulfilling and creative activity that allows you to craft something unique and personal. By following this guide, you can ensure a safe and enjoyable candle-making experience. So gather your materials, unleash your creativity, and let the candle-making begin!


